January 20, 2016
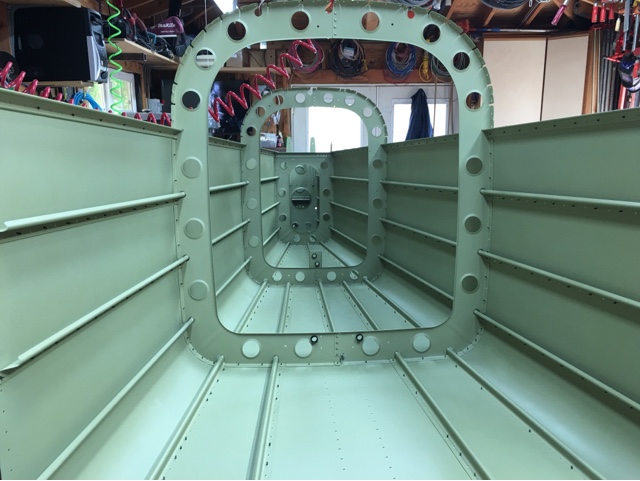
Finished riveting the tailcone! I guesstimate a couple of thousand rivets, but who's counting. Only a couple of small dents from the bucking bar, need to give the painter something to do. Inside view shows the bellcrank mechanism for the elevators. Next up is to attach all the tailfeathers; horizontal stabilizer, vertical stabilizer, elevators and rudder. Once they are all on I attach and adjust the fiberglass tips, then all off until final assembly.
The forward top skin and bulkhead will not be riveted until the remaining fuselage is attached, hence the remaining clecoes. Also will keep the last top skin off anyway to allow access for wiring until all done. Quick-build wings and fuselage should be arriving within the next month or so. 90% Completed, I should take a big leap into the future.
Thanks to Marc Haney who swung by and helped me rivet the last few inaccessible dudes.


And more riveting of the stretchers.....

*********************************************************
December 23rd, 2015
Making good progress on the tailcone again......
Got about half of the rivets done, and time to head to Arizona for Christmas and to see the family. Also spent a few hours making mounting angles and a faceplate for John's new radio in the RV-6. This should give the RV a nice upgrade!


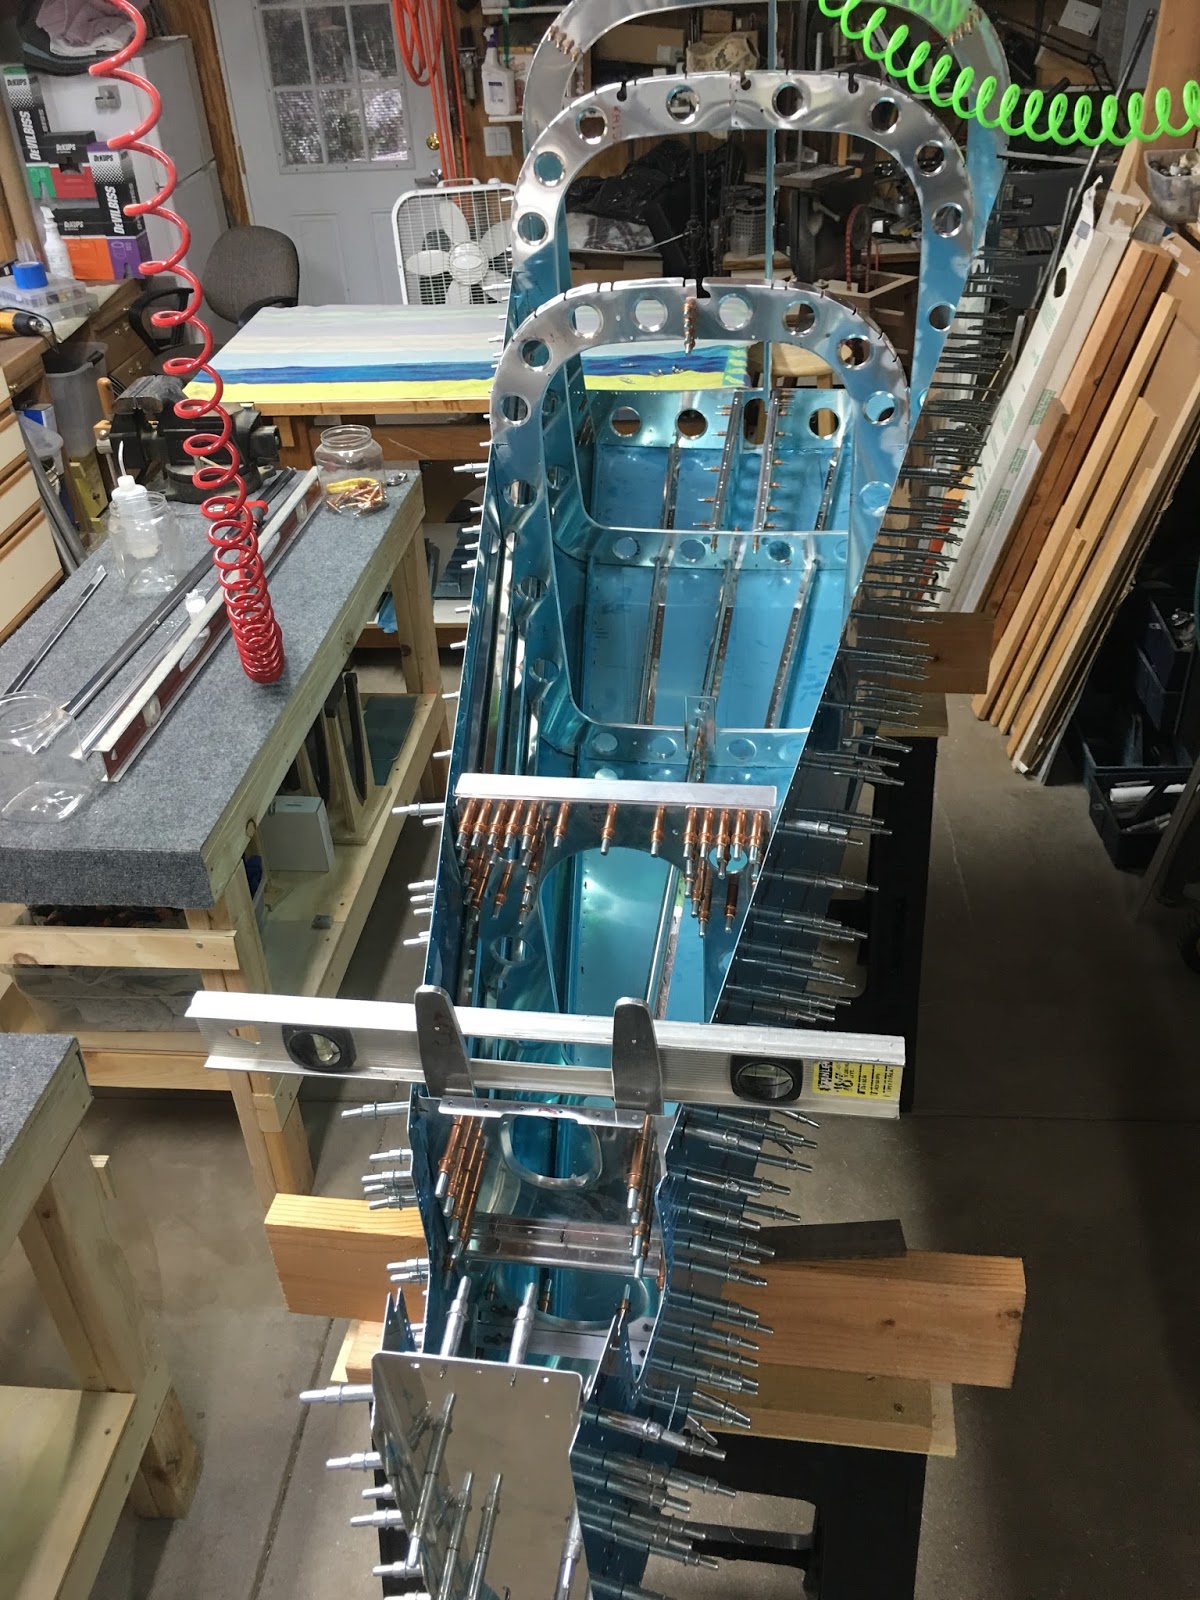
The above photo has the entire tailcone held together by clecos. So now the riveting starts.....


I finally got the whole tailcone back together, and then realized I forgot to turn the side skin edge. The side skins attach to the bottom skin, overlapping on the bottom. After I got them all clecoed up, they puckered open at many points. No Bueno! I was to have bent the edge just a tiny bit, so that the riveted edge would lay down nice and flat.
So I took it ALL apart again, put the tiny bend in the edge, and all back together again. About 4 hours of work, will try not to forget again. Here we are all back together, ready to rivet.....

**************************************************
December 4, 2015
Almost six weeks from my last post! Aside from a fishing trip and Thanksgiving break, I actually was busy.
After taking apart the entire tailcone, I began the long process of smoothing edges, deburring, scuffing, countersinking, chemical prep, priming and dimpling. Here is a pic of a stringer that has been final drilled. There are sharp edges and burrs present. All must be removed and polished out.

After all these are smoothed, deburred and polished out, every piece gets a scrub down with Prekote, an aluminum cleaner/prep.....

After a thorough rinse and dry, the parts get a two-part epoxy primer sprayed on them.

As you can see, I have a very custom spray booth (not). But the results are excellent......


Lots and lots of parts! And after the primer cures (just a day or two), there is a lot of dimpling.....

And below is the DRDT2 dimpler in action again. Set between the two tables it allows me easy reach and dimpling of large skins. Great tool, one of the better tools I acquired.

After which I finally got to rivet parts together again. Here is a pile of bulkheads and things after riveting....


And to show that the shop heads (rivet tails) look as good as the manufactured head.....

And finally, starting to (hopefully for the last time) attach the bulkheads to the bottom skin for the final assembly. One more week of work, and then I hope to make good headway during the Christmas break.

It has been three weeks since I posted a progress report. Time flies......
 I was able to put together the tailcone, and final drill all the rivet and bolt holes. To the left is the tailcone with both side skins, lined up and ready for the heavy longerons to be installed, as well as the aft deck....
On the right is the longerons clamped into place, with the aft deck. Next comes on the top skins.....(after buying even MORE Clecos. I have LOTS of 'em).


I had a number of parts to fabricate on the tailcone.....
After the top skins are in place, the entire structure becomes "torsionally rigid". Then after making any final adjustments with clamps, the aft deck is final drilled to the longerons and stiffeners. And after all that work, I dismantle the entire thing to scuff, de-burr, prep, prime, dimple and rivet.


At any rate, I now have a huge pile of bulkhead parts, longerons, stiffeners and skins. Next up is a couple sessions of prepping and priming.
BTW, I took some time off to see the grandkids in Arizona. During the trip I managed to sneak away for a couple hours to the Copperstate Fly-in in Casa Grande. Got to sit in on a Garmin lecture and get some really good looks at equipment and components. Also got to see a lot of cool aircraft. Noteable were an RV-10 and a P-51.


The P-51 has been fully restored and is gorgeous. Amazingly, these planes were designed and built during WWII in a span of 105 days, at which time the first plane rolled off the line. Incredible.
The RV-10 was very nicely built, although I did not go for the paint job. It was good to see a plane put together nicely. There was another one there that looked.....not so good.
Onward............gotta go spray some primer!
******************************************************************************
I am on to tailcone construction. I am anticipating 3-4 months to complete, so I ordered my wing and fuselage kits. These will be 90% completed in the Phillipines, and sent back and forth from Oregon. Hence they are telling me around January for delivery. OK by me, as I have lots to do. If I do finish the tailcone and have time, I will start on fitting the fiberglass tips to all the empennage parts.
At any rate, I started by fabricating, smoothing, deburring and polishing a lot of parts for the tailcone. First up were the bulkheads....

These were mostly stamped out, some smaller parts I did fabricate. Lots of smoothing and polishing.
I then had some heavier aluminum angle to fabricate into "longerons". These are frame stiffeners that run the entire length of the tailcone on the upper edges. The trick is that they had to be bent 2 degrees at a specific point. It amounts to considerable beating with a rubber mallet mixed with a lot of trial and error. Not exactly NASA, but it did eventually do the job.
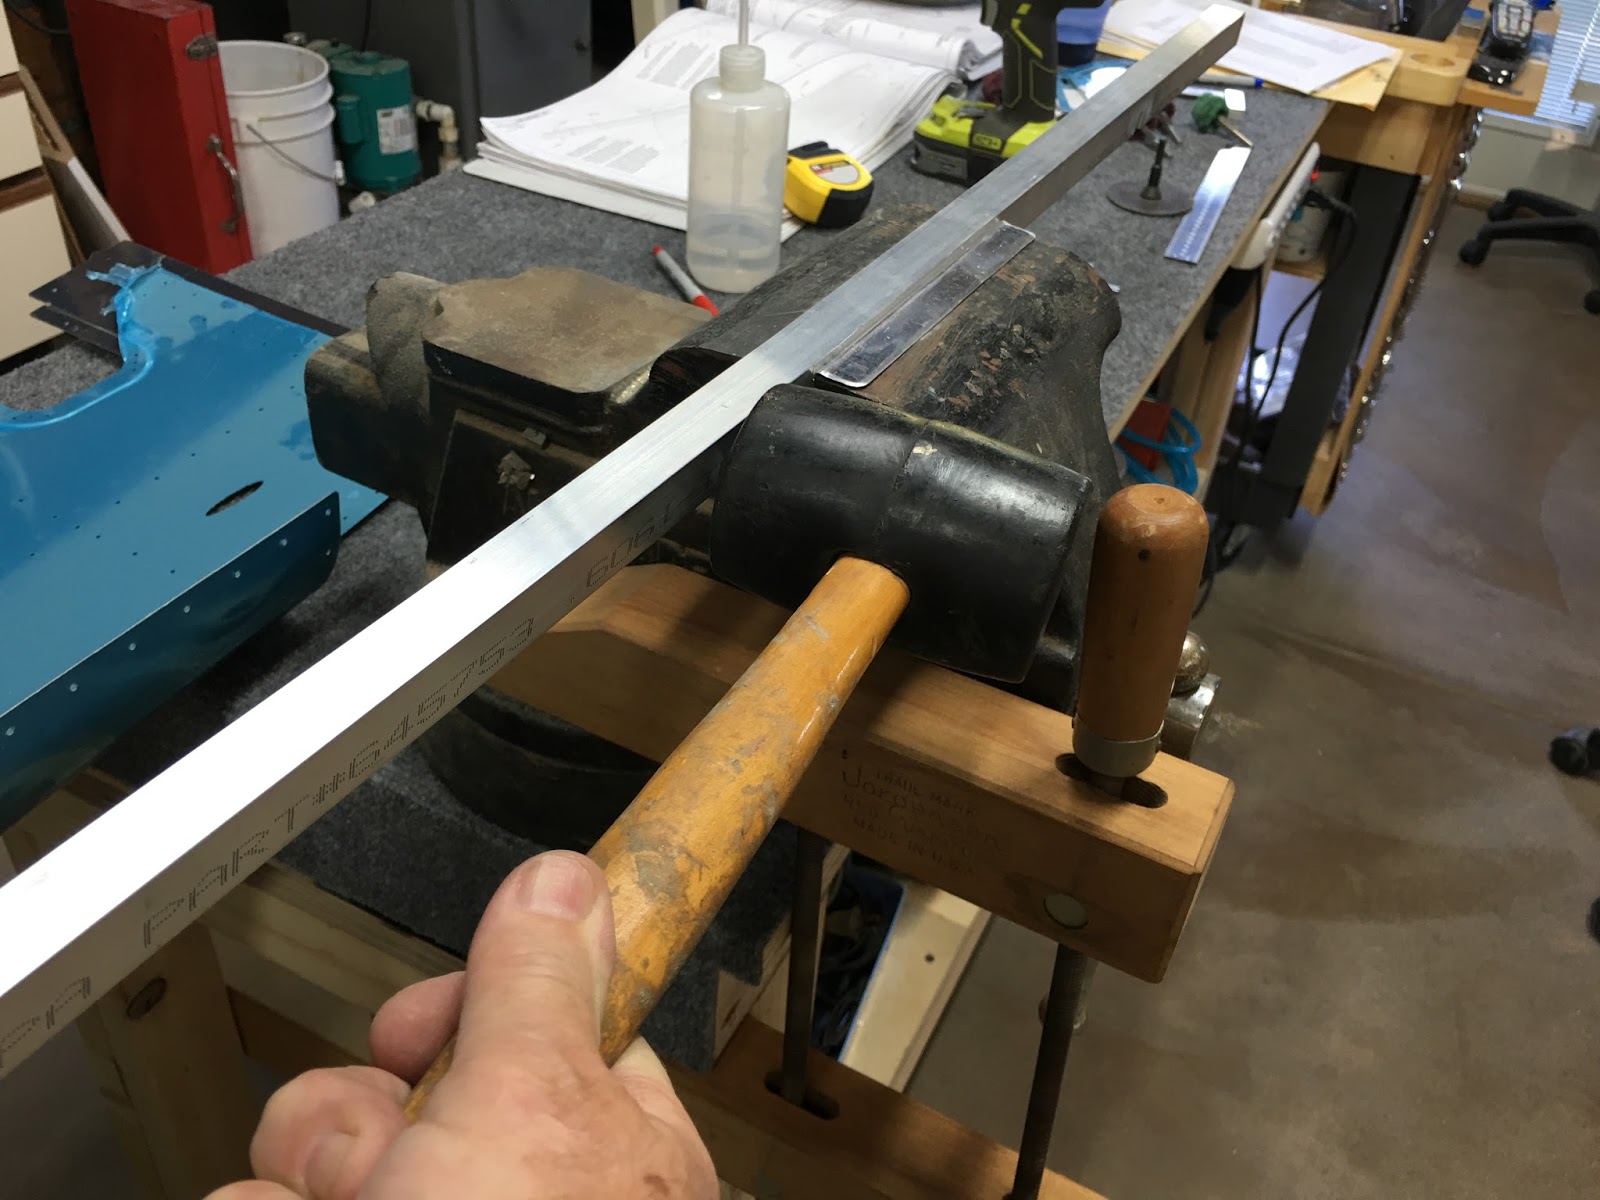
I also had to make a dozen or so long stiffeners out of a J-shaped angle. No big deal, probably the hardest part was marking a line on each one at 5/16" from the edge. After doing a rather poor job, I broke down and purchased a marking tool for the job.....

Here is the little dude. Very simple, holds a marking pen with a thumbscrew, and a vertical leg with another thumbscrew. Made of delrin. Outrageously priced at $20, but it would have taken me a day or two to make one as nice.
I mark the angle, and then set the vertical leg so the pen hits the mark. Then slide along the piece. It is so accurate that I can start and stop without even telling where I did. Nice.

Then it was time to lay down the bottom skin and add stiffeners.........

I had to scab onto my cheap sawhorses to get enough height to clear the bulkheads. Then stiffeners were added, clecoed and finish drilled.
 Then the right side skin was attached......
Afterwards Julie helped me flip the whole thing and I continuied with the aft bulkhead assemblies. It starts out as a floppy mess of delicate aluminum, and ends up getting incredible stiff and strong. Great engineering. Next week we'll see how far I can get towards getting it all together.
I flew yesterday morning and was able to bet my Bi-annual flight review and credit for the FAA Wings Safety program. CFI Joe Caliva was a lot less nervous than when he instructed me a couple of years ago. Thanks, Joe.
No comments:
Post a Comment